WebP Converter – Cloud9
I’ll take a little detour in this post and offer some assistance in creating a WebP image converter for your Cloud9 instance.
I prefer WebP images over traditional jpeg or png file types. I won’t get into the details other than to say that I much prefer the smaller file sizes and better performance for users.
You can download the compressed binaries directly from https://developers.google.com/speed/webp/docs/precompiled.
I’ll post the commands you can use to download the binaries below.
Grab the file:
curl https://storage.googleapis.com/downloads.webmproject.org/releases/webp/libwebp-1.3.0-linux-x86-64.tar.gz -o libwebp-1.3.0-linux-x86-64.tar.gz
Uncompress it:
tar -xzf libwebp-1.3.0-linux-x86-64.tar.gz
Change into the directory and view its contents:
cd libwebp-1.3.0-linux-x86-64
ls -la
Change into the bin directory and view its contents:
cd bin
ls -la
The cwebp binary should be located in this bin directory.

Let’s make our WebP converter directory as well as the Bash script. Note: the file paths in the script are defined as variables, so feel free to call them whatever you want or place them in the directory of your choice.

Open your new webp_bash.sh file with your text editor and create your script.
#!/bin/bash

WATCH_DIR="/home/ec2-user/environment/webp_converter"
OUTPUT_DIR="/home/ec2-user/environment/webp_converter"
CONVERT_COMMAND="/home/ec2-user/environment/libwebp-1.3.0-linux-x86-64/bin/cwebp -quiet -mt -z 9 -q 70"


if [ ! -d "$WATCH_DIR" ]; then
  echo "Error: '$WATCH_DIR' is not a directory."
  exit 1
fi

if [ ! -d "$OUTPUT_DIR" ]; then
  echo "Error: '$OUTPUT_DIR' is not a directory."
  exit 1
fi

echo "Watching directory '$WATCH_DIR' for image files..."
echo "Converting images to WebP format and saving to '$OUTPUT_DIR'."

while true; do
  inotifywait -q -r -e create -e modify "$WATCH_DIR" && \
  sleep 1 #this may need to be bumped up to handle multiple files dropped in at once
  for file in $(ls $WATCH_DIR/*.png $WATCH_DIR/*.jpg $WATCH_DIR/*.jpeg 2>/dev/null); do
    if [ -f "$file" ]; then
      output_file="$OUTPUT_DIR/$(basename ${file%.*}).webp"
      if [ ! -f "$output_file" ] || [ "$file" -nt "$output_file" ]; then
        echo "Converting '$file' to '$output_file'..."
        $CONVERT_COMMAND "$file" -o "$output_file"
      fi
    fi
  done
done
It should be noted you can modify the -z and -q flag values to suit your needs. Read through the WebP documentation, view the various file sizes, and compare the image quality to see what works best for you.
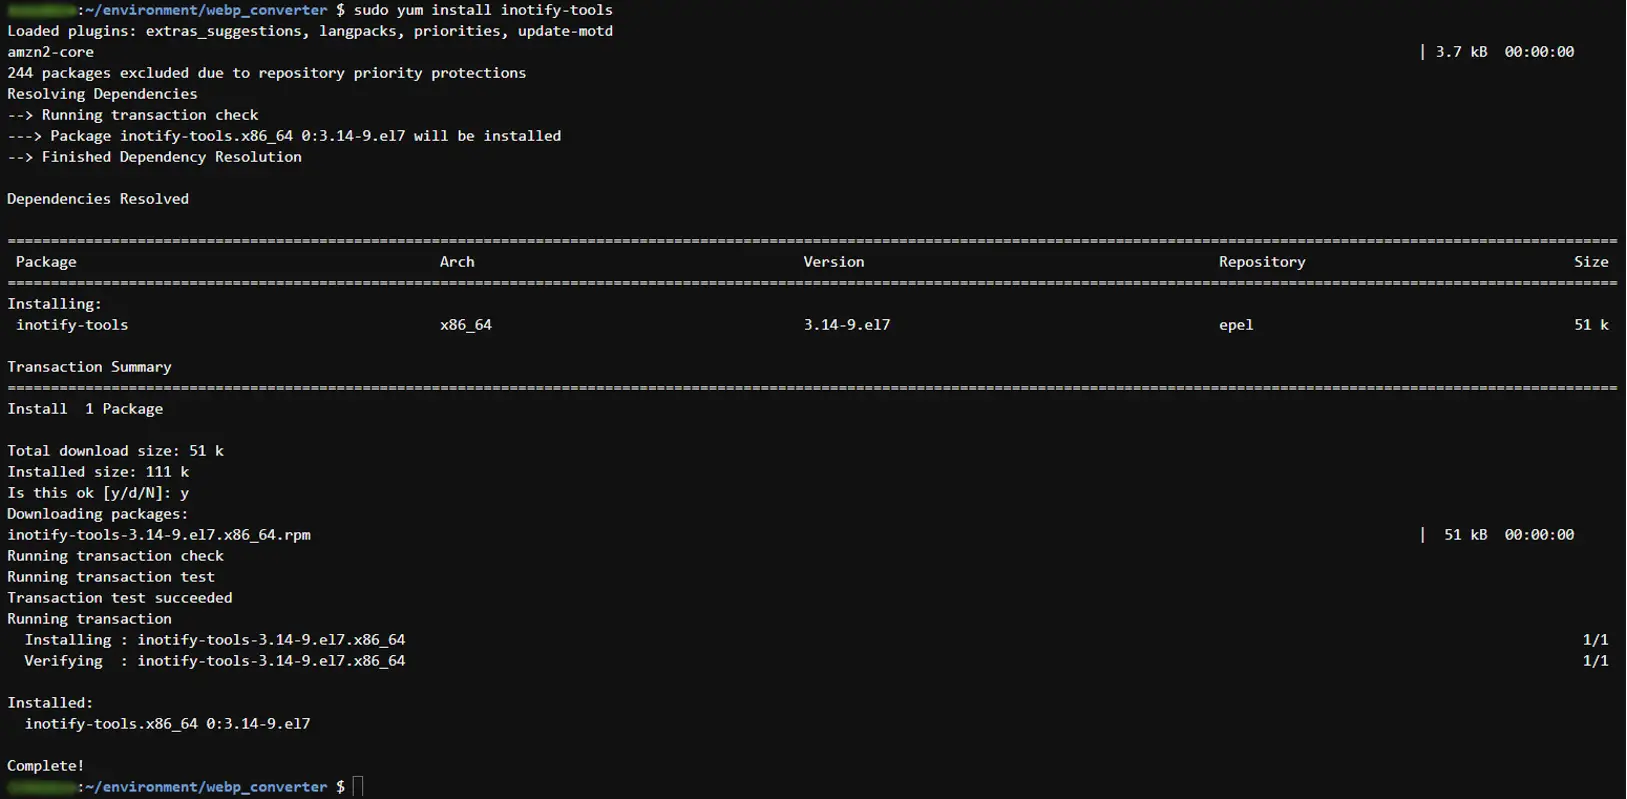
Within your script, you’ll notice the inotifywait command. This command does not come preinstalled on Cloud9, but it is required to run webp_bash.sh. To install this command and the inotify-tools package, run:
sudo yum install inotify-tools
If you try to run this bash script, you’ll encounter an error. This is because you need to provide the executable permission to webp_bash.sh:
chmod +x webp_bash.sh
Now run webp_bash.sh:
/home/ec2-user/environment/webp_converter/webp_bash.sh

Feel free to experiment with dropping multiple images in the folder at once or modifying the script as you see fit. Perhaps you want to delete the dropped in images after the conversion?
That’s it! You’ve successfully made your own webp converter within your Cloud9 environment.