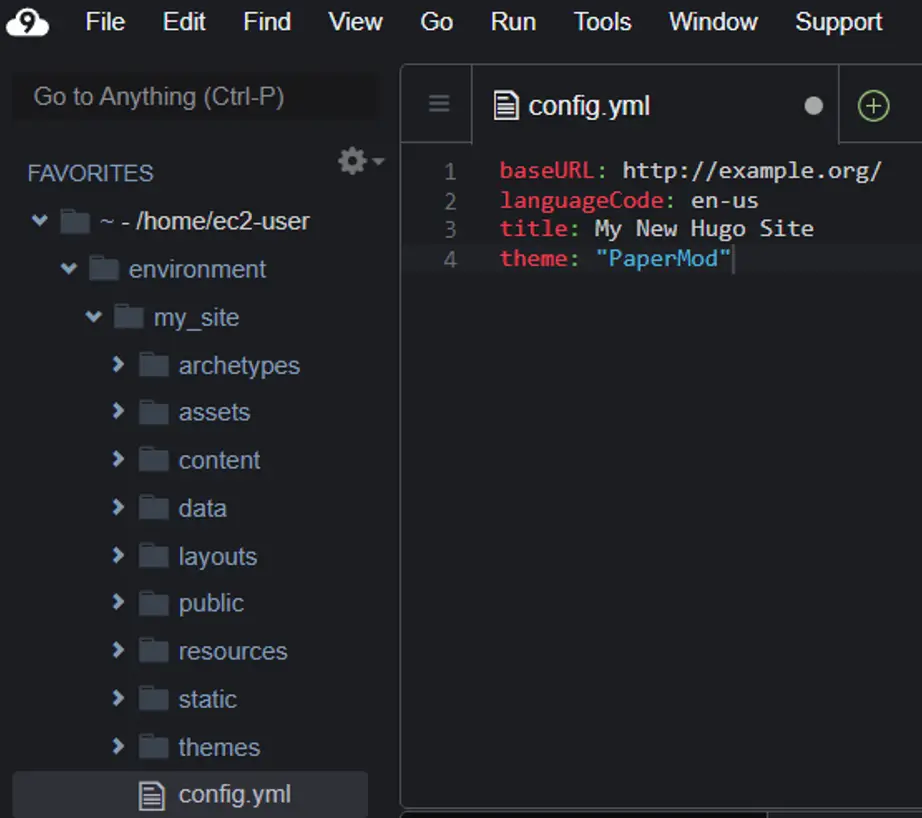
config.yml
In this section, I’ll provide a few quick tips on getting your Hugo “localhost” web server up and running.
Open your Hugo config.yml file at the root of your theme folder using Cloud9, add the following line, and save.
theme: "Papermod"
hugo server
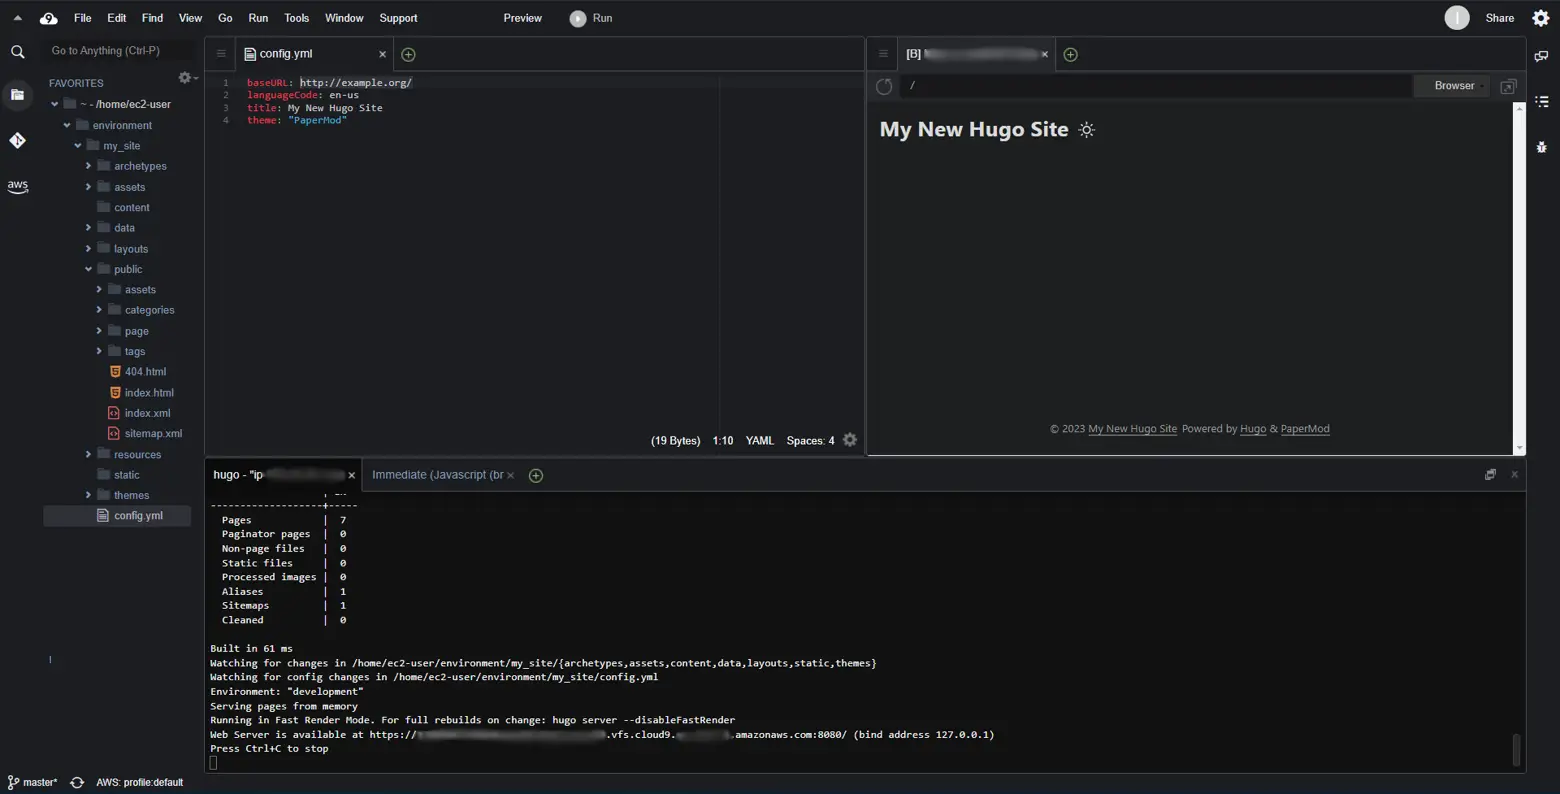
The hugo server CLI command launches a local test server that allows you to preview any changes made to your website’s code. I will provide the command to view your web server using Cloud9 and explain its components later.
hugo server --baseURL=https://$(echo $C9_PID).vfs.cloud9.$(curl -s http://169.254.169.254/latest/meta-data/placement/availability-zone | sed 's/.$//').amazonaws.com/ --port=8080
The hugo server command uses port 1313 by default, which cannot be used to preview the website on Cloud9. To preview the website, you need to specify a port from the range of 8080-8082 using the --port flag.
Additionally, you need to set the --baseURL flag to the unique URL of your Cloud9 environment. You can retrieve this URL by combining two environment variables: C9_PID, which provides the identifier of your Cloud9 instance, and $(curl -s http://169.254.169.254/latest/meta-data/placement/availability-zone | sed 's/.$//'), which provides the AWS region where your instance is running (excluding the availability zone identifier).
All you need to do now is click on Tools > Preview > Preview Running Application and the browser application will open in a tab in your console.
OK, that’s it! You can now view your website “locally.” Continue on to Post 1.3 to learn how to host this website on an S3 bucket.